Gosh, time is flying by!
How are you? Are you freaking out yet?
Hmmm, maybe it’s just me.
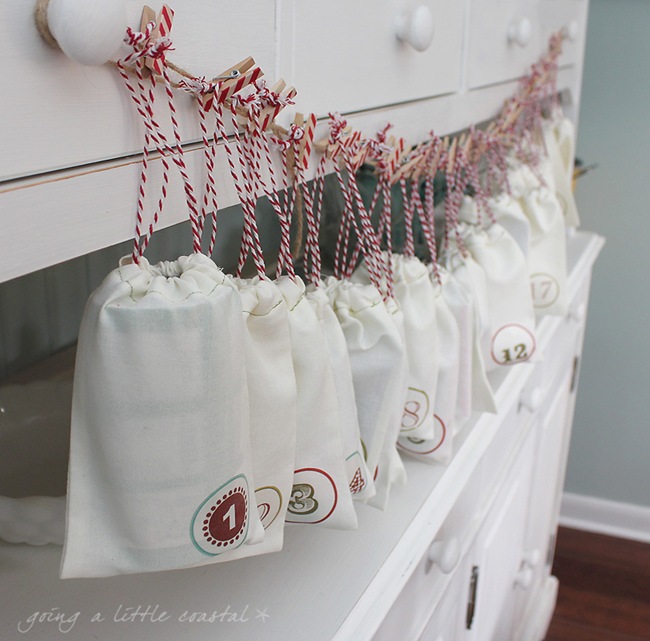
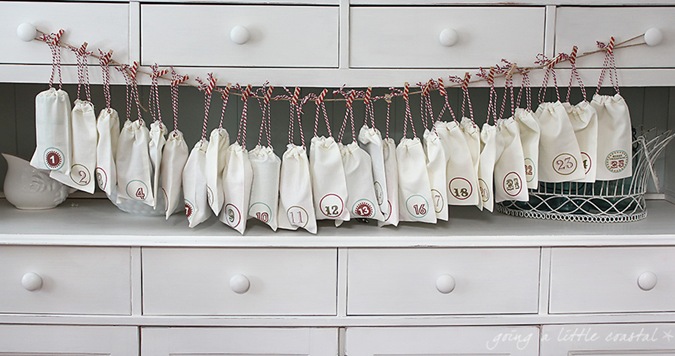
I still haven’t shown you my pictures from Thanksgiving and now I’m rushing to show you this advent calendar I made the other day. I was late getting it out in the mail to a little special someone, so he’ll have to play catch up on a few days.
I saw a bunch of little advent bags on
Pinterest. I had planned to order some plain bags but of course time got away from me and so I decided to just make the bags.
Here’s what I did.
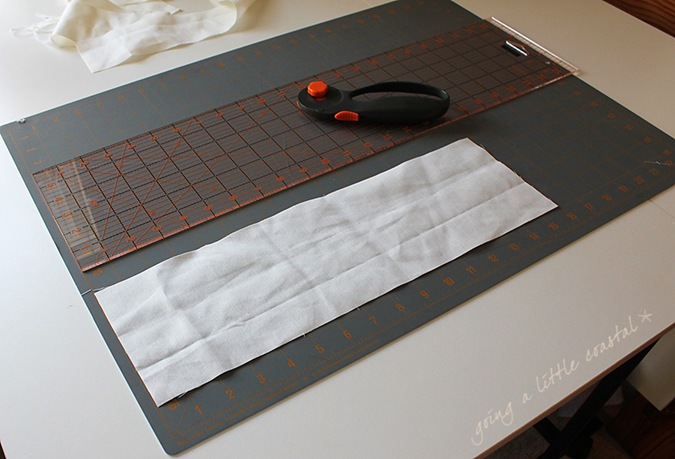
I wanted bags about 4x6 so I cut my fabric 5x16. That gave me extra length to make the casing.
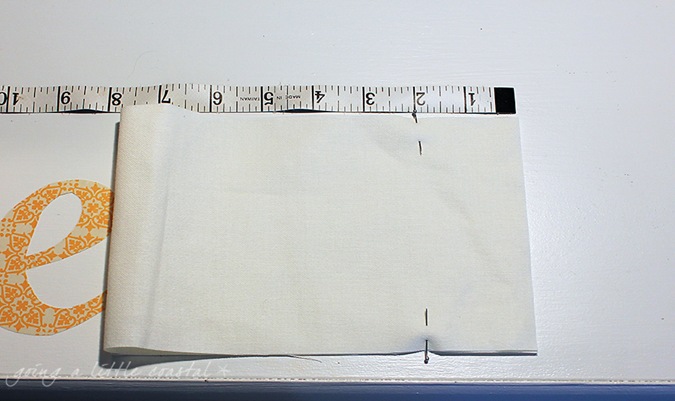
Fold the fabric lengthwise and mark the top 2 inches.
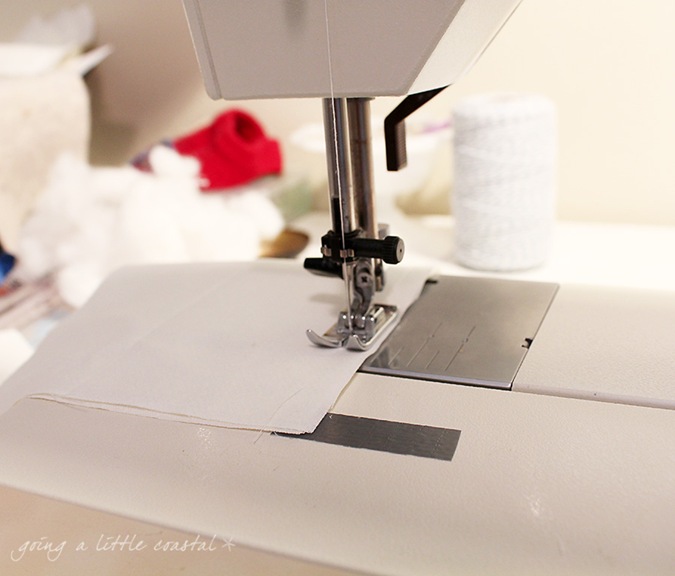
Sew each side up to that 2” mark. I ended up just putting some tape on my machine to show me where to stop stitching. It made the process go faster not having to pin them all.
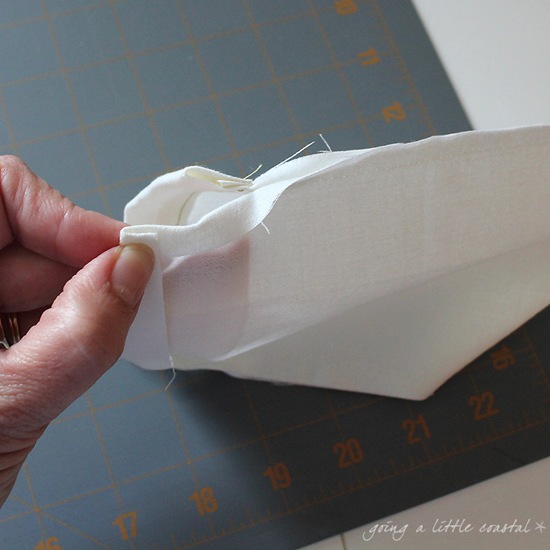
To make the casing you fold in the side seam on the upper 2 inches that were not stitched together.
Then fold down the top 1/4 inch,
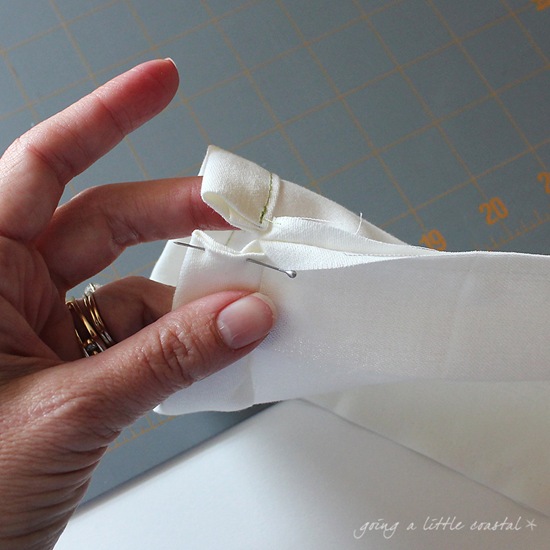
Then fold again down to where you stopped stitching the side seam.
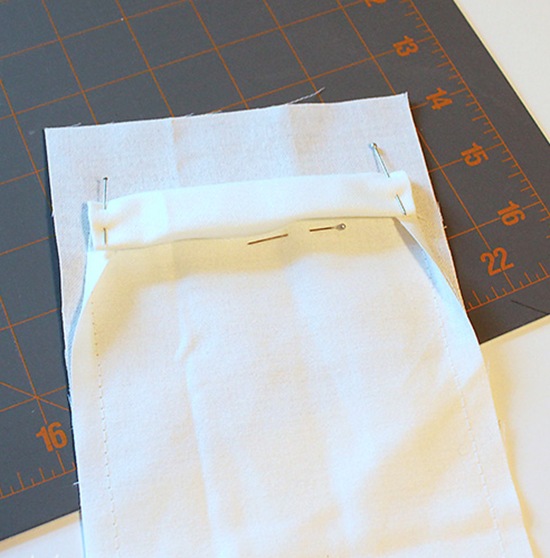
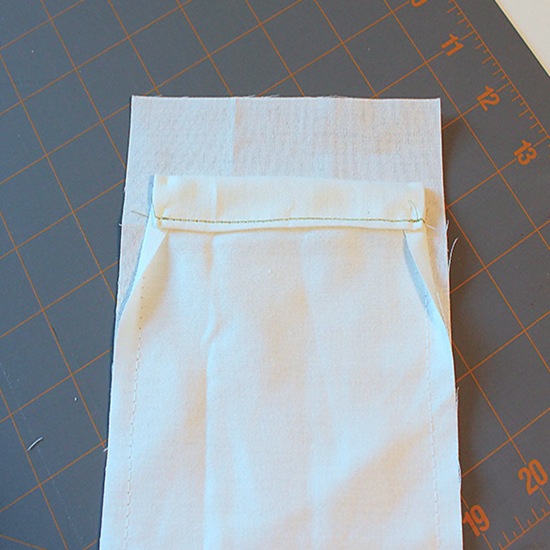
It will look like this. The bottom pin is just to show where the side seam stops. Stitch across one end and then the other. I top stitched in a green thread for some contrast.
When you stitch one end it will look like this.
Then turn them right side out.
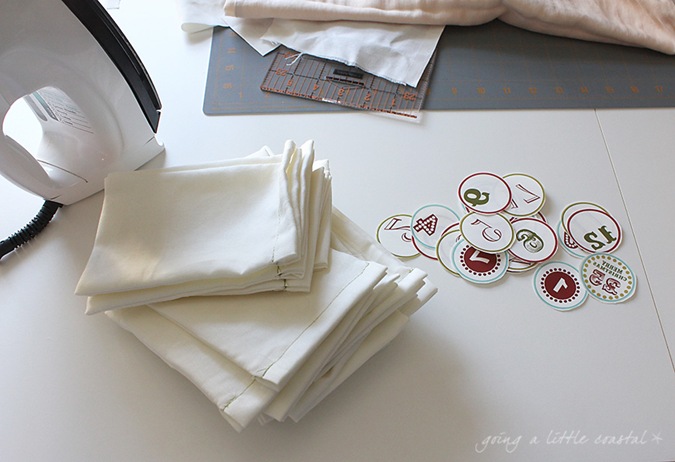
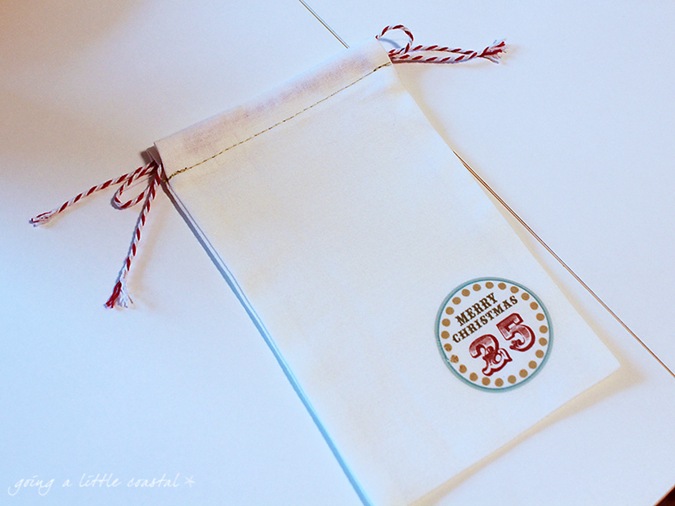
Now you’re ready to put the numbers on! Print out your numbers on some iron on printer paper and set it to flipped or reverse on your printer. So when you iron them on they will look right. I found these numbers on Pinterest. You can google, printable advent numbers, and a bunch will come up.
The bags go much faster than it seems. You find your own rhythm and what’s easier for you.
You’ll need to cut two lengths of twine and thread in one direction and then in the other direction. Then knot the two ends together on each side. You’ll then be able to pull each knot out and the bag will close.
I hope that made sense.
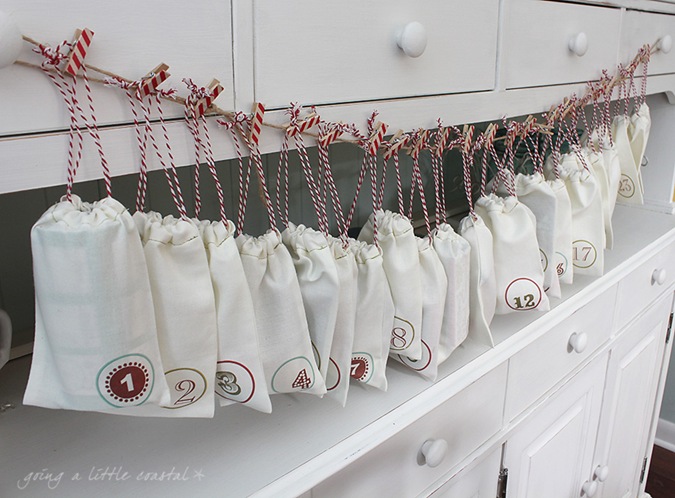
Last but not least, I used some Washi tape to cover these little clothespins.
I think they came out pretty darn cute!
And they’re reusable. Just fill them up each year. I put in little toys and candies.
But you can put in whatever your think your little special someone might like.
OH!
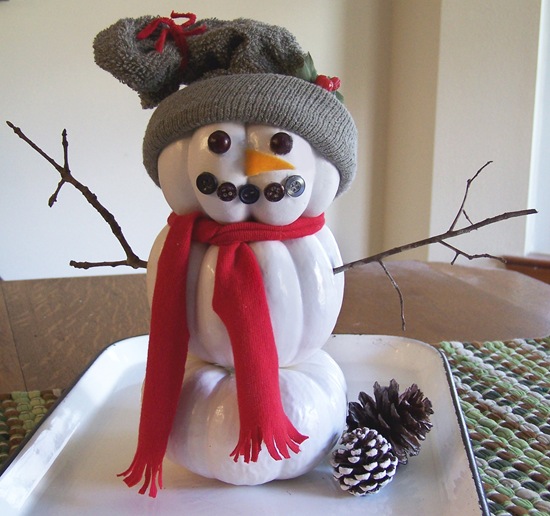
One more thing. Remember this little guy? I made him two years ago out of pumpkins.
Well, he’s making an appearance over at
Huffpost Home getting his 15 minutes of fame! There are some other great holiday decorating ideas there too. So hop on over and check it out.
Let me know what you think of my little advent bags. They are super easy to make. And if you don’t want to made an advent calendar they would make cute gift bags in any size and you can decorate them any way you like.
